Mastering manual camera settings unlocks creative control‚ allowing photographers to adjust aperture‚ ISO‚ and shutter speed for precise results. It’s essential for understanding the exposure triangle and achieving desired effects in various lighting conditions.
What is Manual Mode?

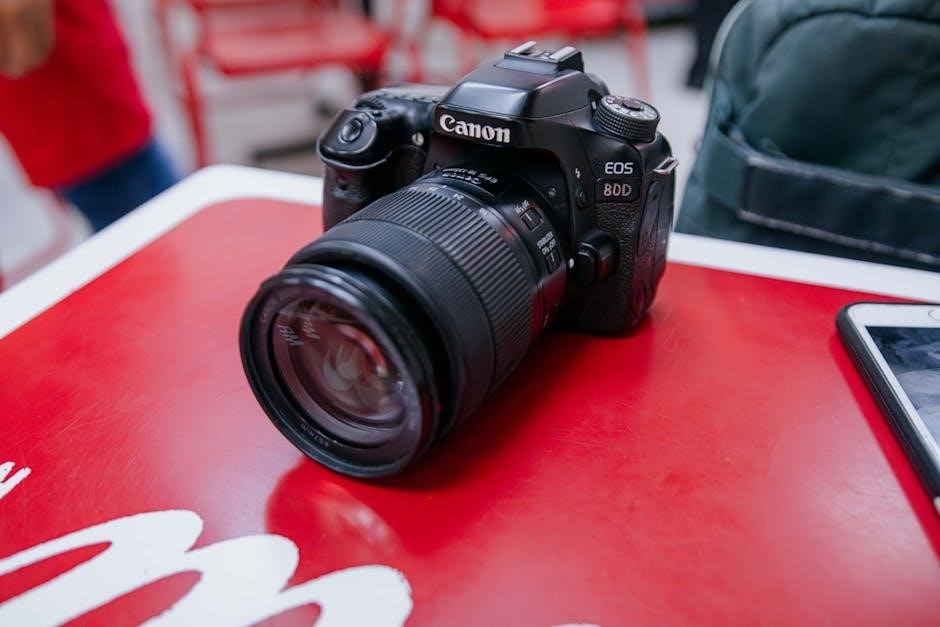
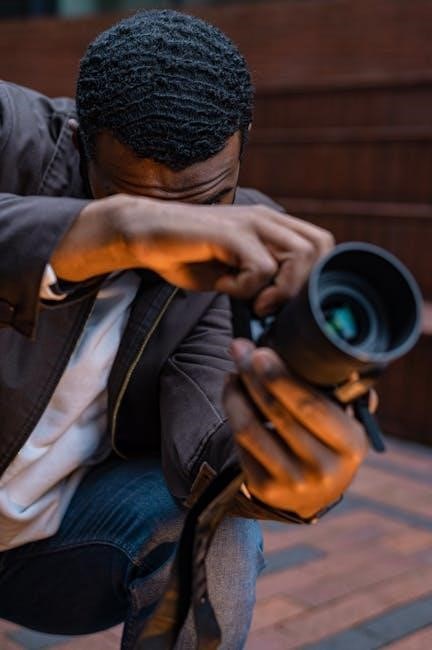
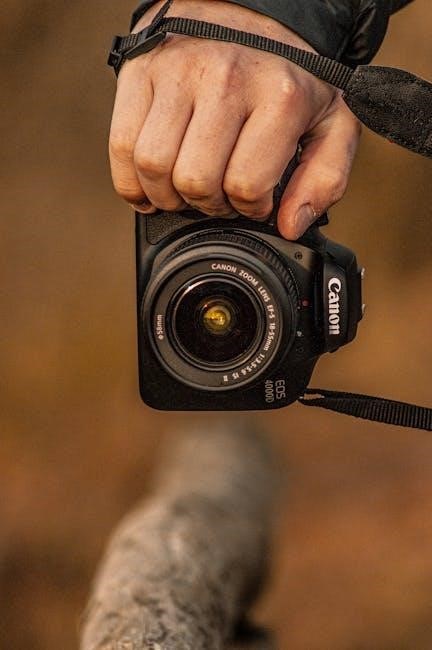
Manual mode (often labeled as ‘M’ on cameras) is a shooting mode where the photographer has complete control over all camera settings‚ including aperture‚ ISO‚ and shutter speed. Unlike automatic or semi-automatic modes‚ manual mode does not rely on the camera’s built-in metering system to adjust settings. Instead‚ it allows photographers to independently set each parameter to achieve the desired exposure and creative effect. This mode is ideal for professionals and enthusiasts who want precise control over their images‚ especially in challenging lighting conditions or when a specific artistic outcome is envisioned. By manually adjusting settings‚ photographers can fine-tune their results‚ ensuring every shot meets their vision. Manual mode requires a good understanding of the exposure triangle and how its components interact. It offers unparalleled flexibility and is a cornerstone of advanced photography techniques.
Why Use Manual Mode?
Manual mode empowers photographers with full creative control over their camera settings‚ enabling precise adjustments to aperture‚ ISO‚ and shutter speed. This mode is particularly useful in challenging lighting conditions where automatic settings may fail to capture the desired result. By manually controlling exposure‚ photographers can achieve artistic effects‚ such as intentional overexposure or underexposure‚ and experiment with unique visual styles. Manual mode also allows for better handling of complex scenes‚ like high-contrast environments or low-light situations‚ where auto modes often struggle. Additionally‚ it fosters a deeper understanding of photography fundamentals‚ such as the exposure triangle‚ and helps photographers develop their skills. For professionals and enthusiasts alike‚ manual mode is a powerful tool for unlocking creative potential and producing images that align with their vision.
Key Benefits of Manual Camera Settings
Manual camera settings offer unparalleled control and flexibility‚ allowing photographers to tailor their shots to specific artistic visions. By adjusting aperture‚ ISO‚ and shutter speed independently‚ one can achieve desired effects like depth of field‚ motion blur‚ and noise reduction. Manual mode also enhances adaptability in diverse lighting conditions‚ ensuring optimal exposure even in challenging environments. It fosters a deeper understanding of the exposure triangle‚ which is crucial for mastering photography. Additionally‚ manual settings enable precise control over image sharpness and light sensitivity‚ reducing reliance on auto features. This creative freedom encourages photographers to experiment and develop a unique style‚ making manual mode an essential tool for both professional and amateur photographers aiming to elevate their craft and produce high-quality‚ visually striking images consistently.
Understanding the Exposure Triangle
The exposure triangle consists of aperture‚ ISO‚ and shutter speed‚ each controlling light entry and image brightness. Balancing these elements is key to achieving perfect exposure in manual mode photography.
Aperture in Manual Mode
Aperture is a fundamental element in manual camera settings‚ controlling the amount of light entering the lens through an adjustable iris. Measured in f-stops (e.g.‚ f/2.8‚ f/8)‚ it regulates depth of field and image brightness. A lower f-stop value (like f/2.8) opens the aperture wider‚ allowing more light and creating a shallower depth of field‚ blurring the background. Conversely‚ a higher f-stop (like f/16) narrows the aperture‚ letting less light in and keeping more of the image in focus. Understanding aperture is crucial for achieving creative effects‚ such as isolating subjects or capturing sharp landscapes. By adjusting aperture in manual mode‚ photographers can tailor their images to suit artistic vision or lighting conditions‚ making it a powerful tool for refining compositions and balancing exposure.

Shutter Speed in Manual Mode
Shutter speed is a critical component in manual mode‚ determining the length of time the camera’s shutter remains open. It is measured in seconds or fractions of a second (e.g.‚ 1/60‚ 1/1000). A faster shutter speed freezes motion‚ capturing sharp images of moving subjects‚ while a slower speed creates motion blur‚ adding artistic effects. For example‚ 1/60s is suitable for portraits‚ while 1/1000s is ideal for sports. Adjusting shutter speed in manual mode allows photographers to balance exposure and achieve desired creative effects. It works in tandem with aperture and ISO‚ enabling precise control over light and image dynamics. Mastering shutter speed is essential for capturing both dynamic action and serene landscapes‚ making it a cornerstone of manual photography techniques.
ISO in Manual Mode
ISO in manual mode controls the camera’s sensitivity to light‚ allowing photographers to adjust brightness without changing aperture or shutter speed. Lower ISO values (e.g.‚ ISO 100) are ideal for bright lighting‚ producing crisp‚ noise-free images. Higher ISOs (e.g.‚ ISO 6400) are used in low-light conditions but may introduce digital noise. Balancing ISO with aperture and shutter speed is key for optimal results. For example‚ outdoor shots often use ISO 100-400‚ while indoor events may require ISO 800-6400. Adjusting ISO in manual mode gives photographers flexibility to adapt to varying lighting conditions while maintaining creative control over the exposure triangle. Understanding ISO’s role is vital for achieving desired image quality in diverse settings.
Steps for Using Manual Mode
Switch to manual mode‚ adjust aperture‚ ISO‚ and shutter speed‚ focus on your subject‚ and review the image to make necessary adjustments for optimal results.
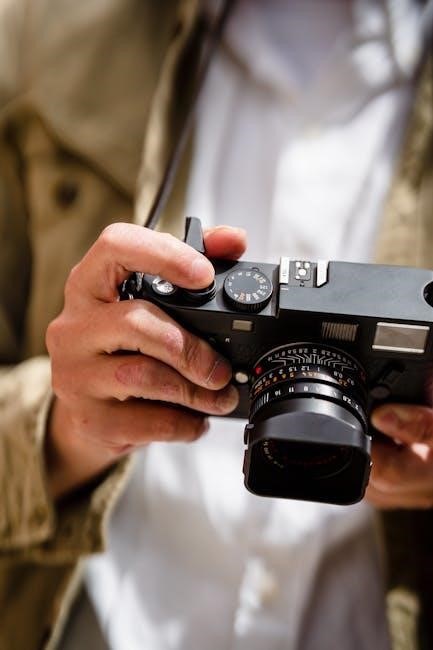
Step 1: Setting Your Camera to Manual Mode
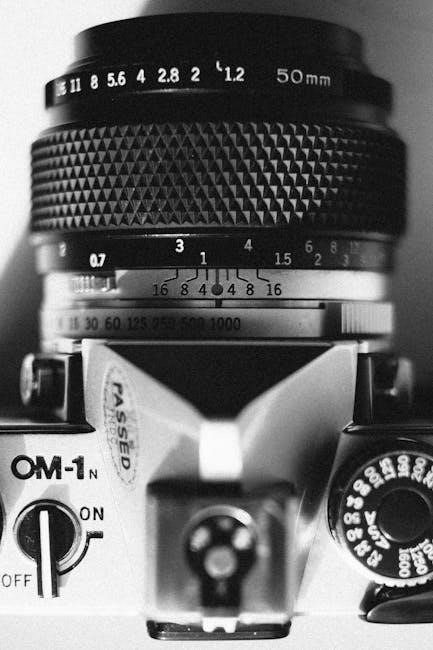
Begin by locating the mode dial on your camera‚ typically found on the top right side. Rotate it to the ‘M’ or ‘Manual’ mode. This step grants full control over aperture‚ ISO‚ and shutter speed. For mirrorless cameras or DSLRs without a mode dial‚ access manual mode through the camera menu. Once in manual mode‚ use the rear LCD or electronic viewfinder to preview your settings. Many cameras allow live view adjustments‚ showing real-time changes to exposure. Take a moment to familiarize yourself with the control dials‚ as they often default to adjusting aperture and shutter speed. Remember‚ manual mode requires understanding the exposure triangle‚ but starting here is the first step toward creative freedom. Now you’re ready to fine-tune your settings for the perfect shot.
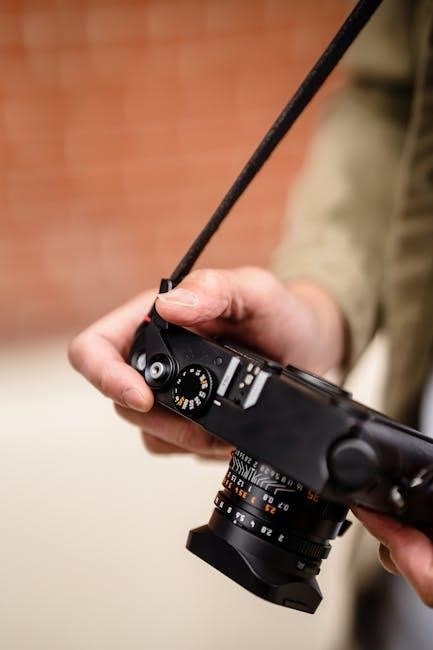
Step 2: Adjusting Aperture‚ Shutter Speed‚ and ISO
With your camera in manual mode‚ start by setting your aperture‚ shutter speed‚ and ISO. Aperture controls depth of field—lower f-stops (e.g.‚ f/2.8) blur backgrounds‚ while higher f-stops (e.g.‚ f/8) keep more in focus. Shutter speed determines motion blur; faster speeds (e;g.‚ 1/500s) freeze action‚ while slower speeds (e.g.‚ 1s) create blur. ISO adjusts light sensitivity; lower ISOs (e.g.‚ 100) are best for bright light‚ while higher ISOs (e.g.‚ 6400) are used in low light‚ though they may introduce noise. Use the exposure triangle to balance these settings for proper exposure. Many cameras offer a light meter to guide adjustments. Start with a balanced exposure‚ then fine-tune based on your creative vision. For example‚ prioritize aperture for portraits or shutter speed for action shots. Incremental adjustments ensure optimal results.
Step 3: Focusing on Your Subject
Focusing on your subject is crucial for sharp‚ professional-looking images. In manual mode‚ you can use autofocus or switch to manual focus for precise control. Autofocus is convenient for dynamic compositions‚ while manual focus is ideal for stationary subjects or when autofocus struggles‚ such as in low light. Use the focus ring or focus peaking (if available) to ensure your subject is sharp. For portraits‚ focus on the eyes to capture emotion and depth. In landscapes‚ focus on a point one-third of the way up the frame for maximal depth of field. Experiment with techniques like back-button focus for better control. Ensure your focus mode matches your subject’s movement—single shot for still subjects and continuous for moving ones. By mastering focus‚ you enhance image clarity and storytelling potential. Proper focus ensures your subject stands out‚ making your photos more engaging and professional.
Step 4: Reviewing and Adjusting Your Settings
After capturing an image‚ reviewing and adjusting your settings is essential to ensure the desired outcome. Use your camera’s LCD screen to preview the photo and check for proper exposure‚ focus‚ and composition. Utilize the histogram to assess the distribution of light and dark areas‚ avoiding blown-out highlights or underexposed shadows. If necessary‚ adjust the aperture‚ shutter speed‚ or ISO to balance the exposure. Zoom in on the image to verify sharpness‚ especially around critical focus areas like eyes in portraits. Pay attention to white balance and metering modes‚ as these can impact the overall look of the image. Don’t hesitate to retake the shot with adjusted settings if needed. This iterative process sharpens your skills and ensures your vision is accurately captured. Practicing this step-by-step approach will help you master manual mode and achieve consistent‚ high-quality results.
Advanced Techniques in Manual Mode
Mastering advanced techniques in manual mode enhances creativity and precision. Explore manipulating white balance for mood‚ using focus stacking for depth‚ and employing metering modes with histograms for optimal exposure control.
Using White Balance in Manual Mode
White balance is a powerful tool in manual mode that ensures accurate color representation by adjusting the camera’s interpretation of light. It is set to match the lighting conditions‚ such as daylight‚ tungsten‚ or fluorescent‚ to eliminate unwanted color casts. Unlike auto mode‚ manual white balance allows photographers to fine-tune settings for creative or precise results. Many cameras offer presets like “Daylight‚” “Shade‚” or “Fluorescent‚” while others enable custom adjustments using a Kelvin scale or by capturing a reference image. Proper white balance enhances the mood of an image and ensures natural-looking colors. Experimenting with different settings can also create artistic effects‚ such as cooler tones for a dramatic feel or warmer tones for a nostalgic look. Using white balance effectively complements manual mode by giving photographers full control over their image’s color palette.
Understanding Metering Modes
Metering modes are essential for achieving accurate exposures in manual mode. They determine how your camera measures light to calculate the ideal exposure settings. The most common modes are Evaluative/Matrix‚ Center-Weighted‚ and Spot Metering. Evaluative/Matrix Metering analyzes the entire scene to balance light and dark areas‚ making it versatile for various conditions. Center-Weighted Metering prioritizes the central part of the frame‚ ideal for portraits where the subject is in the middle. Spot Metering measures light from a small area‚ often just the subject’s face‚ allowing precise control in high-contrast scenarios. Using the right metering mode ensures that your camera captures the correct exposure for your composition. Experimenting with these modes helps photographers master lighting challenges and achieve their desired results. Understanding metering modes is a key skill for effective manual shooting.